Info
This article was originally published on LinkedIn in 2021, and is being republished here to centralize previous writings in one place. Links and information may be broken or out of date.
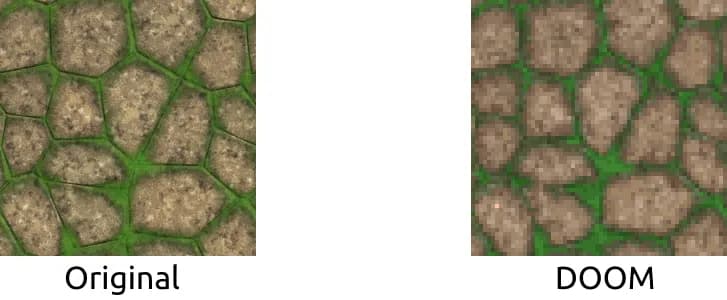
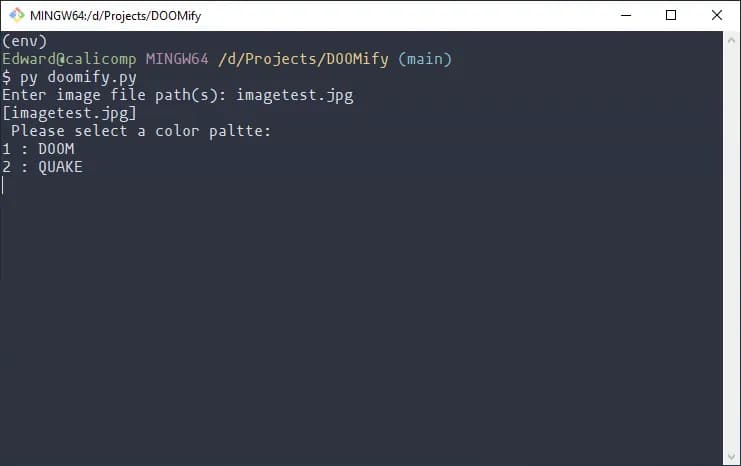
DOOMify is a personal project of mine that was originally written using Python and started in order to cement my knowledge in the language as I learnt it at an introductory level, as well as to test an approach to implementing a color quantization algorithm that I was thinking about at the time. The original Python version of the program is ran from a console or terminal (as one might expect from the language), with palettes hard-coded in for selection that included the original DOOM and QUAKE color palettes. When an image is passed into the program, a copy is returned that is scaled down, and with its color detail restricted to that of the chosen palette’s, achieving a similar digitization effect seen in those games as a result.

Original Image: Petra Schmietendorf (https://www.sharecg.com/v/8753/texture/4-seamless-textures-04)
As one might expect from an application intended for producing visual artefacts, having it run from a console or terminal is probably not the most sensible environment to run in, especially in the case of DOOMify where using a terminal means that you are unable to see the final result until it is already completed, written to disk, and you have viewed it for yourself. It does not lend itself well either to handling multiple images at once, requiring the program to be ran repeatedly in order to process images one at a time, nor does it leave any room for the size of the final image it generates, which is stuck at 64x64 unless you change it yourself in code. While these can obviously be parametrized and left to the user at run-time, I just couldn’t really think of a way that this could be handled in a console application that was both user-friendly, and didn’t feel clunky to use.

Because of these shortcomings, I wanted to re-work it into something that felt more graceful to use for the longest time, and could at the very least be presented as a potentially viable tool for use in the asset creation pipeline for creators attempting to achieve a similar sort of style.

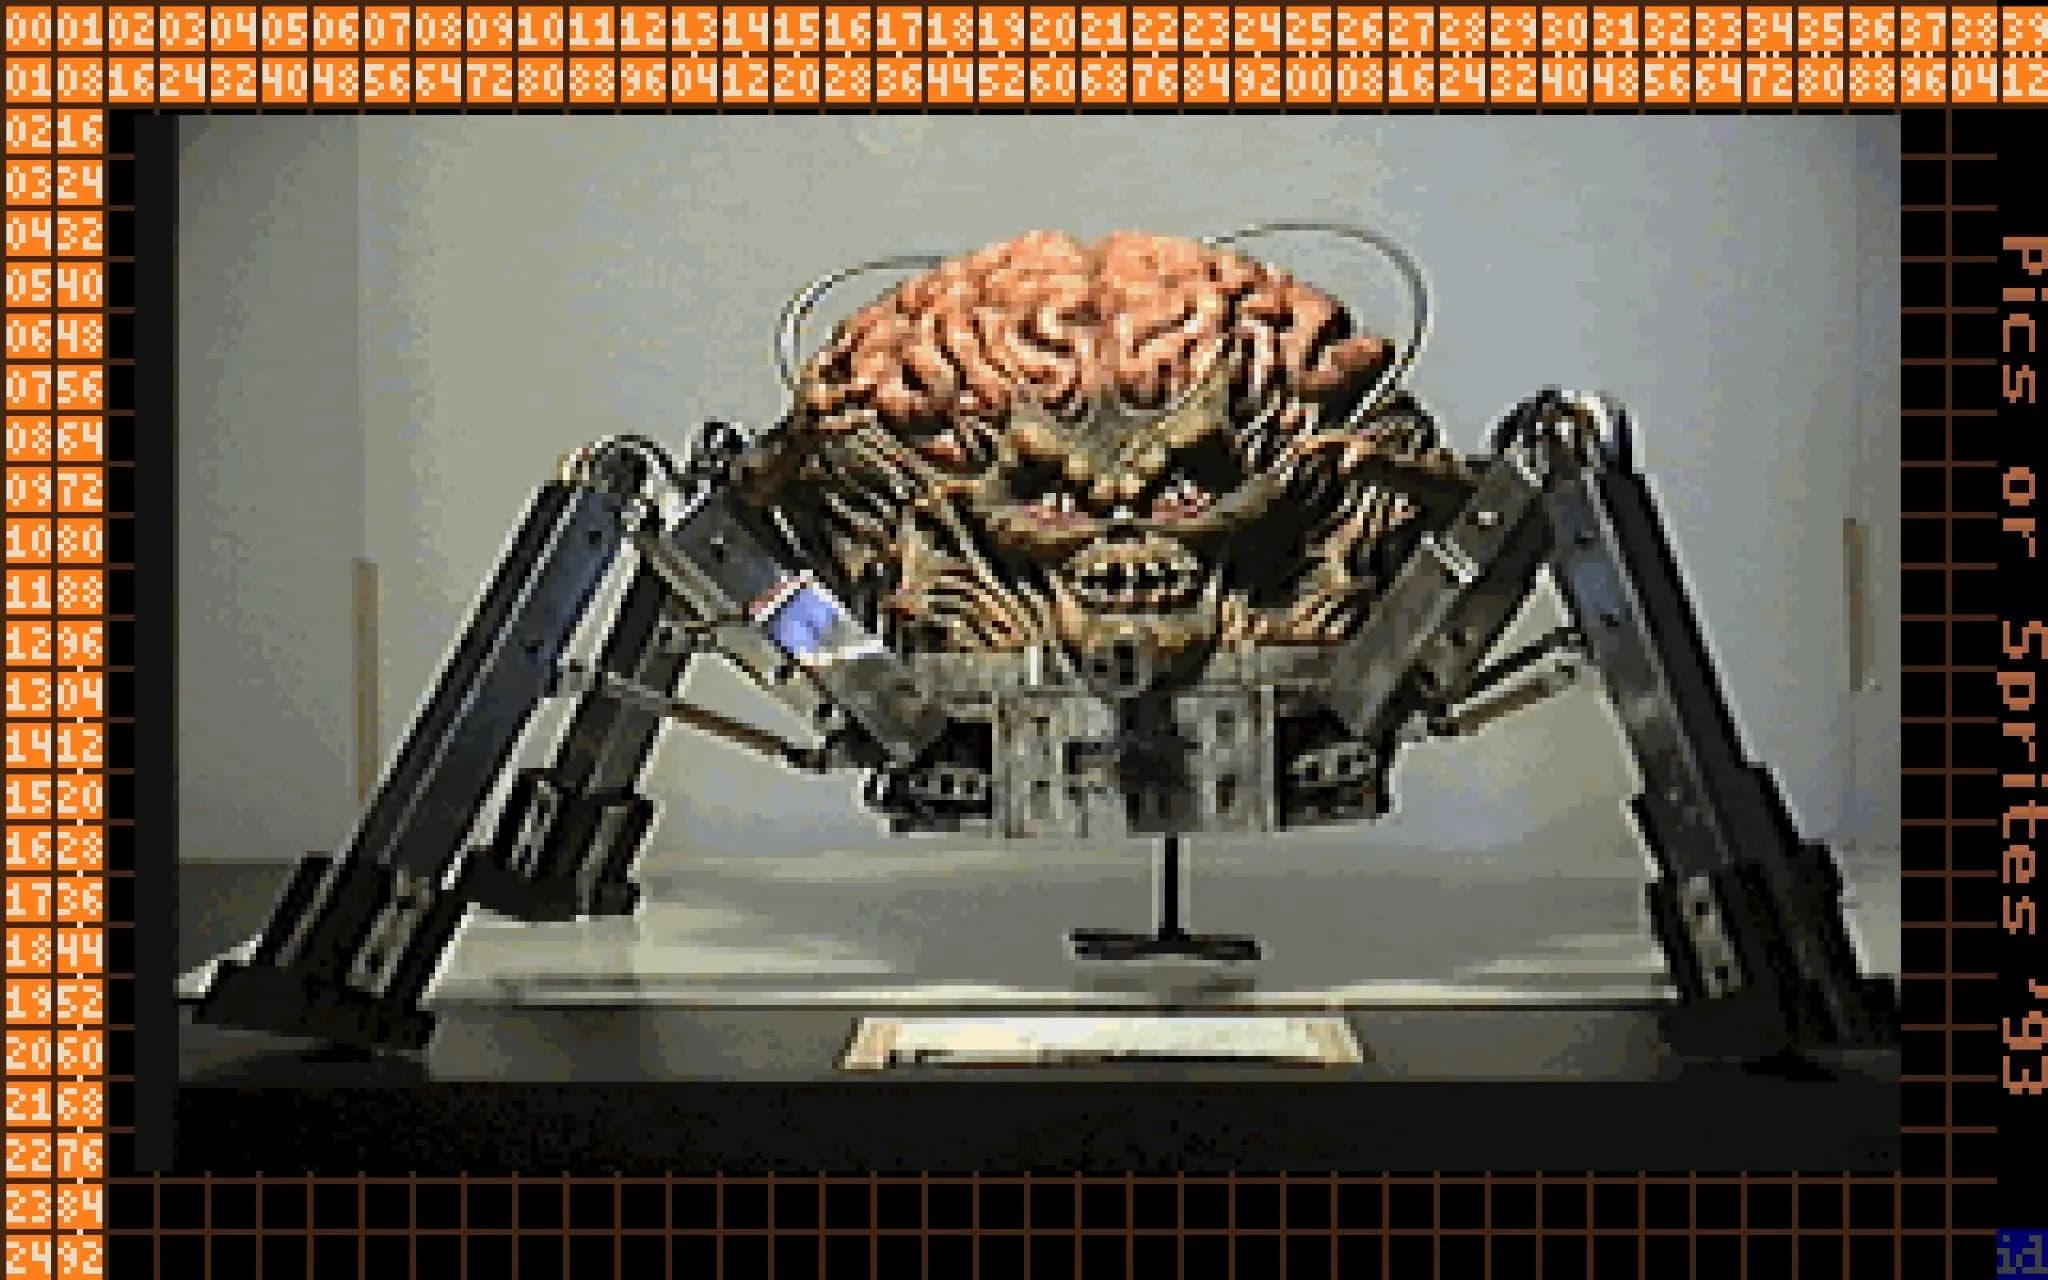
Games like DOOM took advantage of digitized sprites – Sprites that are taken or derived from real-life images and photographs. Titles of the era such as Mortal Kombat are also well known for this, using photographs of real-life actors in costume as the basis for in-game character sprites. Image: John Romero (@romero) (https://twitter.com/romero/status/542958193304174592)
A GUI felt like an absolute necessity for one, and thinking about it more, writing it in a compiled language like C++ would be more performant, could be made stand-alone, and would be a good opportunity for myself to become more familiar with the language itself in the same way that I had done with the Python version initially. With these factors in mind, DOOMify has now been re-written to run under such an interface thanks to the Qt toolkit, and with the hopes of having a first release available in the coming weeks, I wanted to take a moment to briefly write about how the process of choosing the most appropriate color from a fixed set (or palette) was done in code for this project.
So How Was This Done?
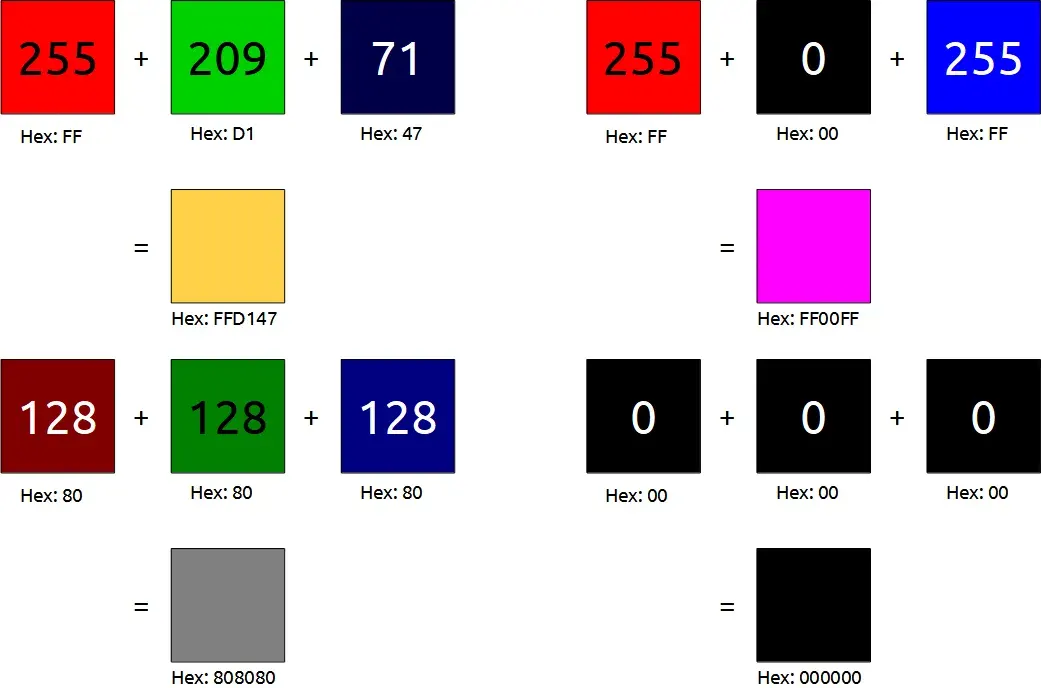
If you look at how we represent color in computers today, we do so by mixing red, green, and blue at varying shades or intensities, known as channels. If we wanted to display the color white for example, then we would mix all 3 of those channels at their highest possible intensity at 255 each, and if we wanted to display black, then we would do the opposite at 0 each. Because the intensity of each channel ranges from 0 to 255, each channel has 8 bits to represent its intensity (totalling 24-bits total, also known as 24-bit color).

This approach to how color is represented is what forms the basis on how the most appropriate one in a given palette is chosen by DOOMify when generating a texture. In this context, it can be assumed that the most appropriate one would be what most closely resembles the original image’s color, or even more ideally, an exact match if it exists.
With all of this in mind, achieving this outcome can simply be broken down into seeing which color in the palette has the smallest differential of red, green and blue color values when compared to the original color it is trying to replace. For each pixel’s color in the final image, we need to first note the RGB values that make it up, and then for each color available in the palette we are trying to match it to, we will need to do the following in code:
- Calculate the absolute value of both the original color and the current palette color’s individual RGB values subtracted from each other – when these 3 values are added together, they can be used as a measure of how close both colors are to each other in composition. If the total is lower, then it is a closer match, and vice versa.

- Compare the calculated total to that of the closest current color observed so far. If it is lower, then that color is now considered the closest, as once again, a lower total would indicate that it is closer in appearance to the original that it is trying to match. If there is no color to compare it to, such as when looking at the first instance inside of the palette, then that first color is automatically assumed to be the closest for the time being. Whenever a color is deemed as the new closest, its total is noted in order to allow comparison to the others later on.
By repeating these 2 steps for each color that is available in the palette we are restricting the original to, we are left with one color that has the lowest difference compared to the original, and in turn the closest matching color to use in its place. From there, in order to convert a a whole image, we simply need to carry this out on each pixel in the image, passing in each color from the original in the process, and putting the resulting color given in its corresponding place in order to generate the final texture. While there are other factors you would ideally want to consider such as handling image transparency in the generation process, for a minimum implementation of this functionality, this would be all you need!
As mentioned earlier, I hope that in the coming weeks that I will be able to bring the updated version of DOOMify into a state where a public release can be put out, while the functionality of the original Python version is there already, there are a few extra things that I would ideally like to add before doing so, such as a “job” system to better facilitate the generation of multiple artefacts in one go. In the meantime, if you are interested in seeing what has been put up so far, you can do so on the update branch over on GitHub, the same goes for the main branch, which at the time of writing, still contains the code for the original Python version.